I can count on one hand the number of people who would describe me as creative: 1) My fifth grade teacher Mrs. H who conspired with me to pull of one of the greatest grade school play performances ever. I was cast as Dorothy, and our collusion involved a two-sizes-too-big picnic dress, ruby slippers, and an imaginary catfish. I will save that story for never, and 2) Hmm. My…no not her. Nope, not him either. OK. I can count on one finger the number of people who would describe me as “creative.”
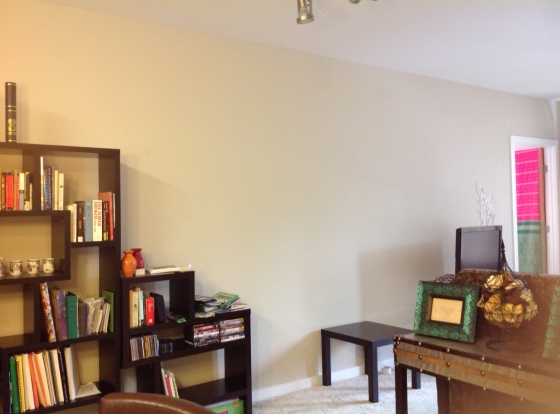
So, when I decided to take on the grand task of DIY Book Page Wallpaper, you can imagine my inner critic went ballistic. And not just because I am *not* creative in the traditional sense of the word, but because the wall is GINORMOUS. Take a look.
The dimensions are roughly 11 ft x 9ft. It’s a central wall in my living space and I have been obsessing for months about what to do with it. I thought about painting it in a light purple but could not commit personally. I also thought about this fantastic chocolate floral wallpaper but at $60 per roll, I could not commit financially. So, what’s a cost conscious, creatively challenged, quirky chic scholar to do?
The answer was simple: BOOK PAGES!
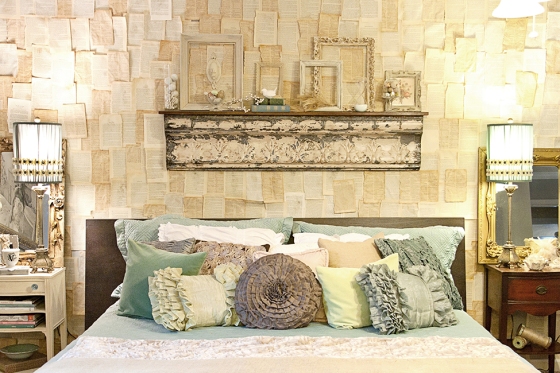
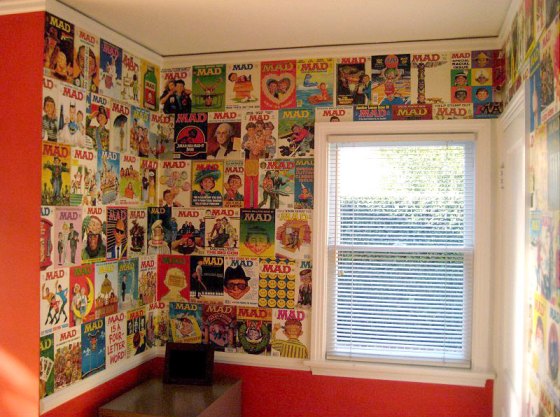
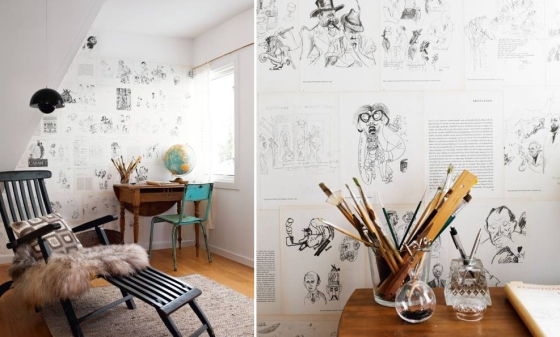
I love the internet. I google’d “DIY BOOK WALLPAPER” and I was not the first person to come up with this idea doncha know! I read a bunch of great tutorials, but I found the Kara Paslay Designs and Houzz Design pages most helpful.
Check out a few stunners:
Here’s a List of Must Have Supplies (adjust accordingly based on the size of your wall, remember mine is ginormous):
1) One Roll of Contractors paper : Other tutorials pasted the pages directly on the wall. A genius friend of mine suggested using a base between the wall and the pages, as a way of salvaging the walls. Not only did the contractor paper protect my walls but it also allowed me to work at my own pace. It was much easier to cut the paper to size and work on the floor, rather than try to individually past over 1000 pages to my wall. Yes, it took OVER 1000 pages. More on that in a second…
2) Four cans of Loctite Spray Adhesive Other tutorials used wallpaper paste. But, I’m no expert and the paste can be unwieldy to work with. Using the spray adhesive gave me much more control when applying the pages to the paper, and it wasn’t as gooey. Also, the spray adhesive will be much easier to remove when that time comes.
3) OLD BOOKS! My large wall took 3 lengthy books. I used books that were meaningful to me, but other tutorials chose some random ones. I love words, so you won’t catch any 50 Shades on my walls! I also selected older books because the pages had a yellowish tint, and they were slightly thicker than the pages in newer books. That whole planned obsolescence thing is apparent even in books. Anyway, the books were 1) Manchild in the Promised Land by 2) Gray’s Anatomy and, 3) the Amplified Bible. I already owned #1 and #3, and #2 was 70 cents from a nearby Goodwill. 70 cents!!! I would have preferred the Message version of the Bible, but the pages were too thin in the versions I found. You should definitely prep the books by tearing out the pages and cutting straight edges. You can use a pair of scissors if your hand is steady. Or, if your hand is like mine you can spend a few hours at Staples with their paper trimmer like I did for near perfect edges.
Other supplies I found useful to have:
Ladder
3ft Wooden ruler (under a dollar at Lowe’s)
Measuring tape
Foam Smoothing Roller
Erykah Badu Pandora Station
Patience
What to do:
First, RELAX! The pages and adhesive are very forgiving. Even when you mess up, there’s an easy fix with readjusting.
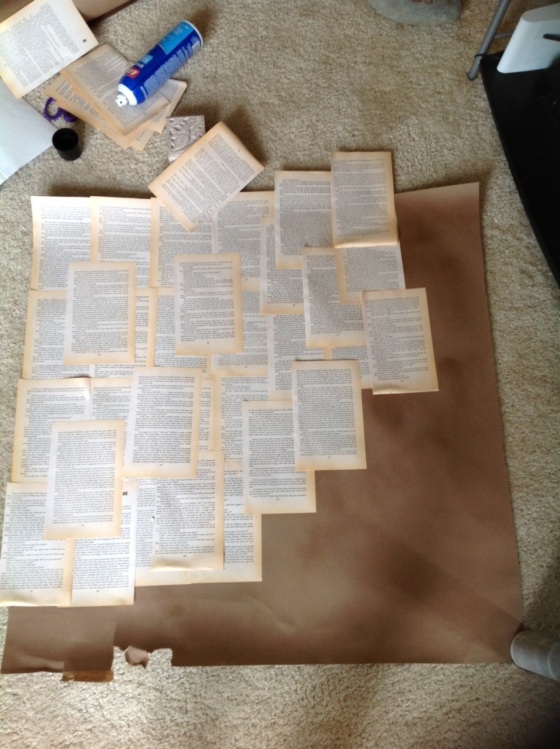
Second, cut a test section and lay out the appropriate amount of contractors paper on the floor. I started from the right corner to make sure my edges were on target. The first sheet I cut was small, roughly 35 x 45. I wanted to create a look with texture so I overlapped the pages. Take a look.
I was happy with the test section so I kept going. At some point I should have put on gloves but I thought it would be easier to work with my fingers free. Bye Bye Manicure.
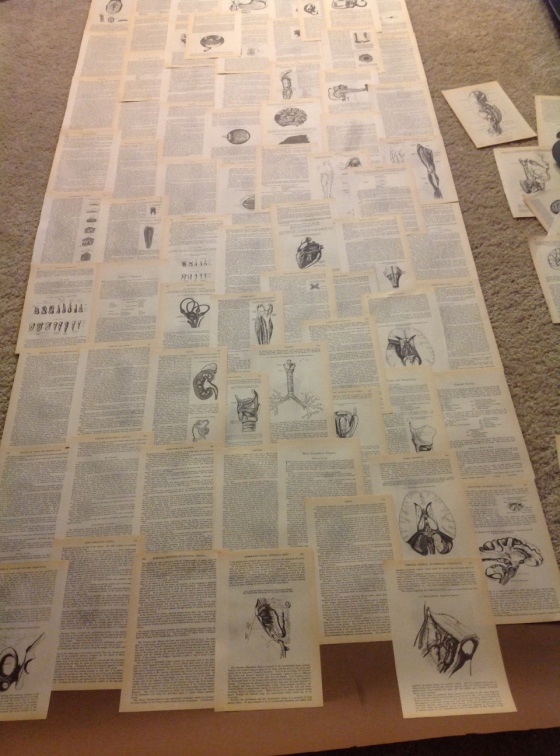
Third, start committing! Cut floor to ceiling strips of the paper and apply your favorite pages. I left a little room on the top and bottom so that I could apply the remaining pages once the contractors paper was on the wall for a more even look. That is, I used the ceiling as a leveler rather than trying to achieve straight lines on the paper. Take a look at a longer floor to ceiling strip.
My entire wall took about 7 of these strips. Manchild was 1 strip, Gray’s Anatomy was 2 strips, and the Bible was 4 strips.
With food, Facebook, Pinterest, Twitter, texting, talking and TV breaks (it’s the weekend I like breaks!), thus far the project has taken about 2 weekend days. And, I don’t feel bad about that length of time because this couple on one site said it took them “several months” — not sure what kind of breaks they were taking *wink, wink*
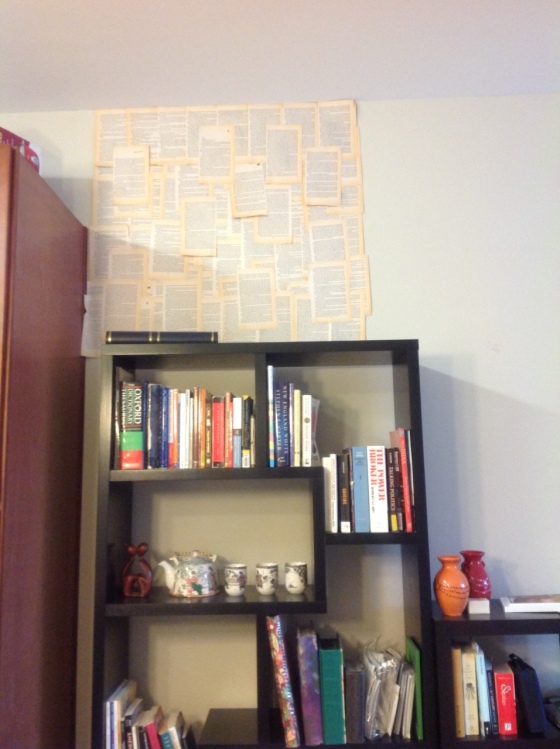
So, here’s the look I have so far.
I am going back and forth on whether to go all the way down behind the bookshelf. I will decide on that later. I also really, really love the texture that the pages give the wall, and I can’t wait to finish this project. I am thinking it will take roughly one more day to put the strips up, because I want to watch the BET Awards and take like 3 naps in between! 🙂
Check back for Pt 2 of this post for pics of the fabulous and finished effect!
Here are all the sites I consulted before starting the project:
Happy Wallpapering!
Love it! We actually just stuck the pages directly to the wall in Jennifer’s room… One year later she moved and had to take all of the pages down…the wall was totally fine! (we only used adhesive on the corners of the pages) Oh, and it only took us 2-3 hours!!
Emily Hewett
A Well Dressed Home
awelldressedhome.com
That’s great to hear Emily! I was really concerned about the walls because I am renting. So glad to hear there’s little to worry. I LOVE your site and photos; thanks for commenting!!! Check back soon for the finished wall.
The research, patience and pandora station were well worth it my dear
LOL thank you! I have gotten great reviews from those who have seen it in person *hint, HINT!*